Wednesday, December 31, 2014

Wine-Braised Beef - 2 ways

I grew up in a meat and potatoes family, my husband is Italian. Roasts were a regular part of the menu plan growing up. Typically they were prepared simply, roasted in the oven and served with delicious pan dripping gravy and mashed potatoes and a side of some vegetable. When I tried to make a roast for my husband, he wasn't really into it. This bummed me out, I certainly couldn't make a 2-3# roast for myself. I would have to eat it for weeks. Despite this, a few weeks ago when the chuck roasts were on a BOGO sale, I picked two up.

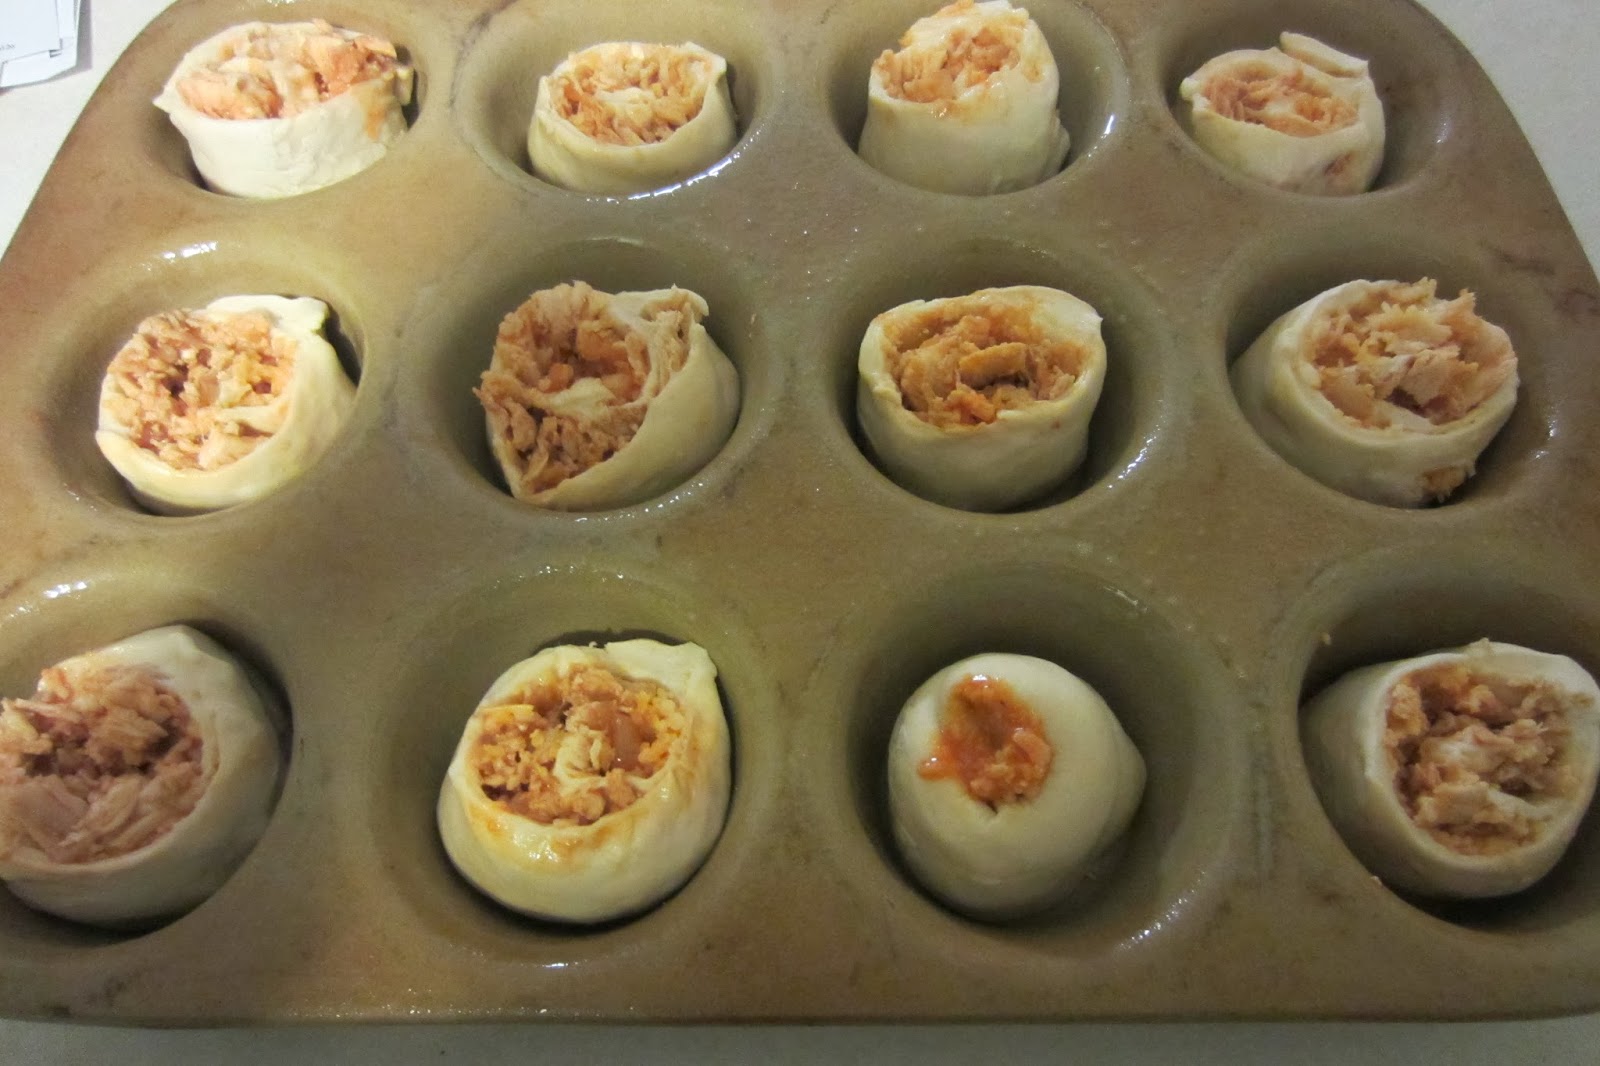
I started searching for some recipes that I thought could work for my husband. I found a recipe that used a Wine-Braised Beef in a Shepherd's Pie. I made some simple adjustments, but mostly followed the braised beef portion. I wanted to keep it simple, so I made the beef, the potatoes and the peas and we built deconstructed Shepherd's Pie...especially important for me who doesn't eat peas. My kids didn't care for the Shepherd's Pie approach, so we came up with a sandwich that was similar to the Mongolian Beef with Spicy Mayonnaise that we had experienced at the Epcot Food and Wine event...not a perfect match, but we hadn't found any other options.

Wine-Braised Beef
Ingredients:
2 pounds beef chuck pot roast cut into big hunks
salt
pepper
2 tablespoons olive oil
1 large carrot
1 stalk celery
1 large shallot
2 tablespoons flour
2 cups sherry
15 ounces beef broth
3/4 cup water

Directions:
Heat oil in a large heavy-bottomed pot over medium-high heat. Season beef on all sides liberally with salt and pepper then place inside pot and sear for 3-4 minutes on the top and bottom, until a golden brown crust has formed. Add carrots, celery, and shallots then cook until vegetables are tender, 6-8 minutes. Sprinkle in flour then stir and cook for 1 more minute.

Pour in sherry, beef broth, and water then bring to a boil. Place a lid on top of the pot then turn heat down to medium-low and simmer for 2 - 2-1/2 hours, or until beef can be easily shredded, turning beef over halfway through. Remove meat then shred. If liquid is not thickened, turn heat up and simmer until thickened then return beef to the pot.

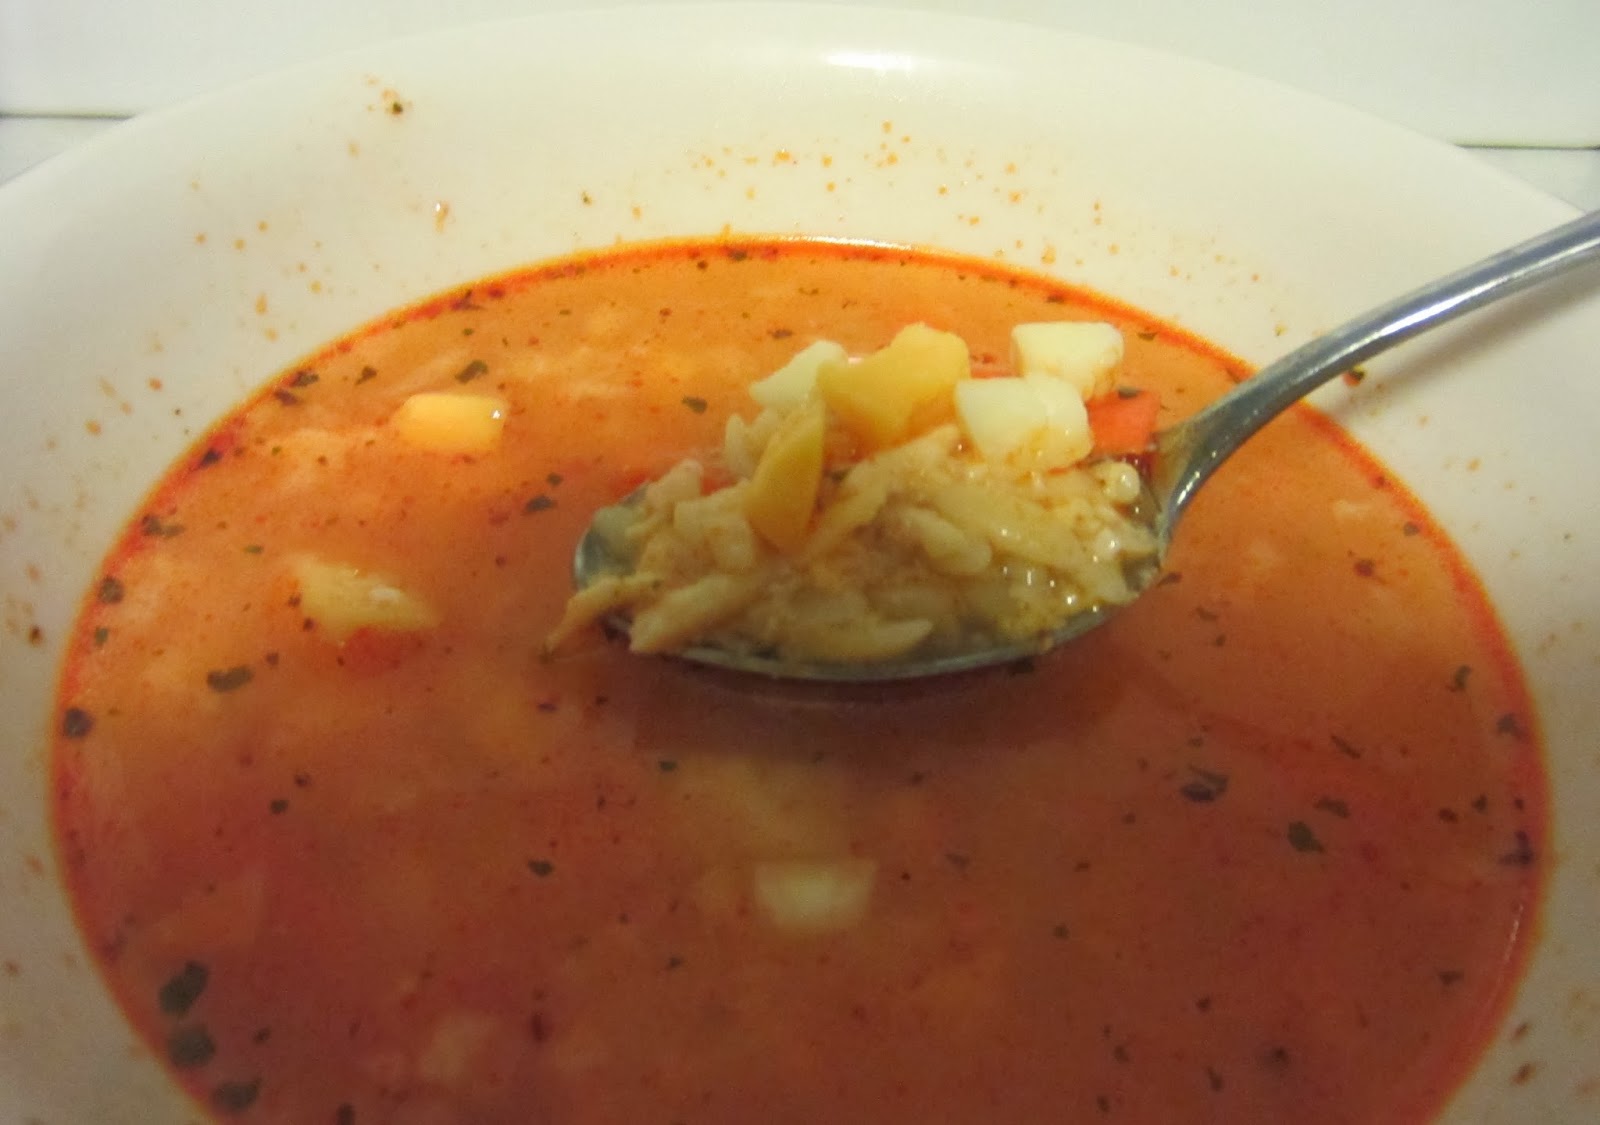
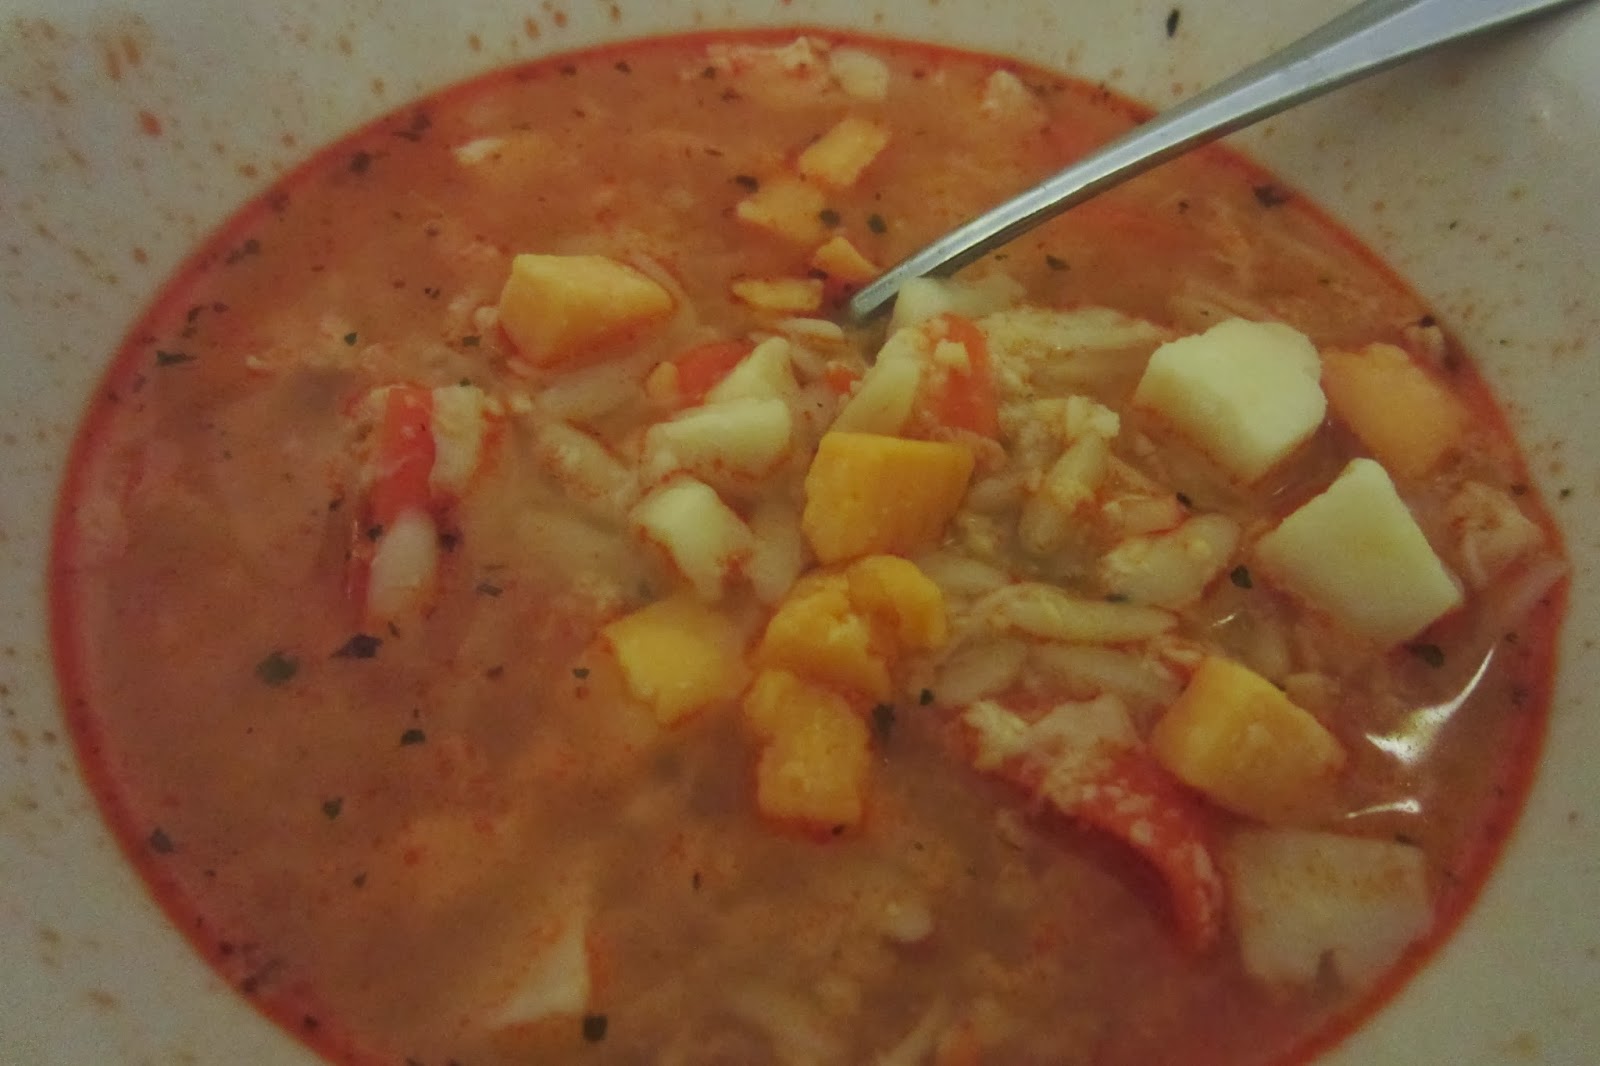
To make deconstructed shepherd's pie, prepare mashed potatoes and peas. Assemble in a dish, layering the beef, the peas and the potatoes.
To make braised beef sandwiches, prepare some siracha mayonnaise (1/2 c mayo, 1-2 tbsp siracha) and serve beef on a roll, with a smear of the siracha mayonnaise.

Disclaimer

Sunday, October 5, 2014

Chicken and Waffles

Friday night, we went out to dinner as a family at a newer restaurant that our friend opened. We had been there once for dessert and once for dinner in the past and on the way there, my son shared that he wanted to order the Chicken and Waffles. Unfortunately, they were not part of the dinner menu, but part of the brunch menu, so he couldn't order them.

This weekend, in an effort to clean out the pantry and organize a little, I had cleaned up my baking shelves and realized that I had a couple of pancake/waffle mixes that I needed to use. So, when I sat down to plan the menu for this week, I decided to try making Chicken and Waffles for dinner one night. I did some searching and saw many examples of what I expected, a fried chicken chunk on a section of waffle or a fried chicken breast sandwich with waffles as the bun. I saw one post where the chicken was skewered and cooked in the waffle. I decided that this approach was the one that intrigued me the most. I decided to forgo the skewers and to fry the chicken rather than bake it, but I did elect to make the dip.
The result was great. The crisp of the fried chicken was lost for the most part in the waffle - I'm guessing that the waffle batter soaked into the crust, but the flavor was still there. I had made my pieces small enough that most of them only took up one quadrant of the waffle maker, which was a nice size to eat them as a finger food or to cut them up to eat with a knife and fork. The dip was really good - the combination of the spicy mustard and the sweet of the maple syrup was nice. In fact, we had extra and decided that we would keep it for dipping other things in this week. This dish was declared a keeper.

Chicken and Waffles
Fried Chicken
2 boneless chicken breasts
2 eggs
3 tablespoons milk
1 salt
1 pepper
1 cup crushed corn flake
1 cup bread crumbs
2 tablespoons canola oil

Waffle Batter
2 cups Pancake Mix
1 1/4 cups water
1/4 cup canola oil
1 egg

Maple Mustard Dip
3/4 cup light mayonnaise
1/3 cup maple syrup
3 tablespoons Ballpark mustard (could use a Dijon or Spicy mustard)

Directions:

Preheat oven to 300 degrees.

Cut the chicken breast in half (wanted to say lengthwise, what I mean is butterfly), then cut into pieces.

Whisk together 2 eggs and milk. Add the cut up chicken.

Place the oil in a frying pan and put on medium-high heat.

Place crushed corn flakes and bread crumbs on a plate. Add seasoned salt and ground chipotle pepper. Coat the chicken breast in crumbs. Place into frying pan, turning once, cooking until chicken is cooked through. Remove to a plate.

Preheat waffle iron.

Prepare waffle batter by combining the waffle mix, water, oil and egg.

Dip chicken into waffle batter then place on waffle iron (I spray mine with cooking spray).
Place in pan in oven to keep warm while you cook the remaining waffles.
Prepare dipping sauce by whisking together mayonnaise, maple syrup, and mustard.

Serve chicken waffles with dipping sauce.


Disclaimer

Saturday, September 20, 2014

Pumpkin Snickerdoodles

It is fall, which means at my house it is time for all things fall. It is time to start making roasts and chili. It is time for warm apple cider and marshmallows on the bonfire. And, it is time for Pumpkin! Not that you would guess from the several pumpkin recipes that I have shared already or anything (find those treats here - this recipe will come up on the search too).
I'm always on the hunt for more ways to enjoy pumpkin flavors, so I decided to try a new cookie recipe - Pumpkin Snickerdoodles. I found the inspiration on Pinterest.

Pumpkin Snickerdoodles with white chocolate chips

1 cup butter melted
1/2 cup brown sugar
1 1/2 cups granulated sugar, divided
2 teaspoons vanilla extract
3/4 cup pumpkin
3 cups flour
1/2 teaspoon salt
1/2 teaspoon baking powder
1/2 teaspoon baking soda
4 teaspoons cinnamon, divided
2 teaspoons pumpkin pie spice
1 cup white chocolate chips

Yield: 64 cookies

Melt the butter in the microwave. In a medium bowl, whisk the melted butter, brown sugar, and 1 cup granulated sugar together until no brown sugar lumps remain. Whisk in the vanilla and pumpkin until smooth. Set aside.

In a large bowl, combine the flour, salt, baking powder, baking soda, 3 tsp cinnamon and pumpkin pie spice. Add the wet ingredients to the dry ingredients and mix together until combined. Fold in white chocolate chips. Cover and chill for 30 minutes.

Remove the dough from the refrigerator and roll into balls. Mix together the remaining 1/2 cup of granulated sugar and 1 teaspoon of cinnamon. Roll each of the dough balls generously in the cinnamon-sugar mixture and arrange on baking sheet. Slightly flatten the dough balls before baking.

Bake the cookies for 8-10 minutes at 350. They will still be soft when you remove from the oven, you can flatten the cookies out a little more when you take them out of the oven. Allow the cookies to cool for at least 10 minutes on the cookie sheets before transferring to a wire rack. Cool completely and store in an airtight container.
Disclaimer

Sunday, September 7, 2014

Cheesy Spinach Cakes

I am always looking for options for a quick healthy side dish or grab and go breakfast items. A while back, in a local publication (I think that the hospital publishes) there was a recipe for these Cheesy Spinach Cakes. I changed some of the amounts because it called for more spinach than comes in a single bag and I only bought one bag and I wanted more substance so I added more cottage cheese. I also added in some jalapeno to give it a little more kick.

The resulting 'cake' is tasty. My son didn't care for them, my daughter won't eat them because they have spinach in them and my husband didn't try them yet - so at this point, they are all mine!. I enjoyed them and according to Cook'n (the recipe software I use), they are only 55 calories per cake and 6 grams of protein, which I think makes them perfect for an on the go breakfast following my workout or a satisfying side.
Cheesy Spinach Cakes

5 ounces bag, baby spinach
3/4 cup low fat cottage cheese
1/4 cup grated Parmesan cheese
3 large eggs, beaten
2 cloves garlic, minced
1/2 jalapeno pepper, finely diced
1/4 teaspoon salt
1/4 teaspoon freshly ground pepper

Preheat oven to 400°F.

Chop spinach. Transfer to a medium bowl. Add cheeses, eggs, garlic, salt and pepper; stir to combine.

Coat 8 cups of the muffin pan with cooking spray. Divide the spinach mixture among the 8 cups (they will be very full).

Bake the spinach cakes until set, about 20 minutes. Let stand in the pan for 5 minutes. Loosen the edges with a knife and turn out onto a clean plate.


Disclaimer

Thursday, July 31, 2014

Ginger Soy Tilapia

At our house, we are always looking for new ways to enjoy fish prepared at home. Recently, I found a new alternative for Tilapia, which is one of our go to fish. We like that tilapia is a nice mild, white fish. It works well in many recipes and is not 'fishy' tasting. Both of the kids enjoyed this preparation and I was told I could make it again.

With the preparation inside of foil pouches, this meal could also be prepared on the grill. We enjoyed it with a side of corn and rice.

Ginger Soy Tilapia
Ingredients:
4 fillets (4 oz each) tilapia fillets
1/4 cup ginger soy sauce (or 2 Tbsp freshly grated ginger and 1/4 cup soy sauce)
2 teaspoons sesame oil
1 pepper

Preheat oven to 425F.

Tear off 4 pieces of foil. Place a tilapia fillet in the center of each piece. Drizzle each with ginger soy sauce and sesame oil. Season with pepper.

Fold the top of the foil and crimp to seal. Arrange packets in a single layer on a rimmed baking stone.

Bake until fish is opaque, 10 to 12 minutes if thawed, 18 to 20 minutes if frozen.


Disclaimer

Monday, July 7, 2014

Chilled Plum Oatmeal Pudding

I enjoy oatmeal for breakfast. I usually make due with a simple packet of oatmeal, but in reality, my favorite is the good, goopy, slow-cooked kind that you have to add milk to. I typically get to enjoy that type when I am traveling and the hotel has it as an option on their buffet, or when I go out to Bob Evans or Panera for breakfast or occasionally at the cafeteria at work. I have pinned a few recipes for overnight oatmeal and crock-pot oatmeal, but haven't yet tried any of them. As I was reading through Martha Stewart Living this weekend (no idea which month), I found a recipe for oatmeal pudding. I thought that this sounded very interesting, as we are big fans of rice pudding. I also liked the idea that this could be a dessert or a breakfast option.

Her recipe indicated it made one serving, so I decided I needed to increase it so that I could make enough for the family to enjoy. I settled on tripling the recipe. I also decided to use unsweetened vanilla almond milk instead of plain. Even so, I had to add vanilla to the mix, because there just really wasn't any flavor outside of the plums that you serve on top. That being said, the oatmeal pudding, with vanilla extract added, is a great back drop for the juicy, tart plums that are made slightly sweet with the addition of maple syrup.

With the recipe tripled, I would say that it easily provides 6 servings if you are serving it as a breakfast, probably more like 12 if you are having it as a dessert. I definitely would make this again, I might even play with the flavors and try an almond extract or a maple extract instead of the vanilla next time I make it or even try sweetening it with a bit of brown sugar or honey. I also think it could be with other fresh fruit - cherries, blackberries, raspberries, etc. - although the tartness of the plum helps contribute to the flavor impact. Guess I will have to make this a bunch to try out all of the other options I have in mind.


Chilled Plum Oatmeal Pudding
Serves: 6

adapted from Martha Stewart Living Magazine

1 1/2 cups old-fashioned rolled oats
3 cups unsweetened vanilla almond milk
1 pinch coarse salt
1 tablespoon vanilla extract
2 tablespoons maple syrup
3 plums, pitted and chopped
1 teaspoon ground cinnamon

Combine oats, 2 1/4 cups of almond milk and 2 1/4 cups of water and salt in saucepan. Bring to a boil. Reduce heat and simmer until oats are tender, about 4 minutes. Transfer to a bowl and let cool slightly. Stir in remaining 3/4 cups of almond milk, the vanilla and 1 tbsp of maple syrup. Chill overnight.

Toss plums, 1 tbsp maple syrup and cinnamon in a bowl. Let stand 5 minutes.

Serve oatmeal topped with fruit and juices. Sprinkle with cinnamon, if desired.


Disclaimer

Grilled Chicken and Peaches with a Curried Tomato and Shallot Vinaigrette

As I was reading through a stack of magazines this weekends, I found several recipes that I was anxious to try. One recipe that I saw was for grilled chicken with curried peaches. It caught my eye because of the use of fruit in it. After actually reading the recipe, I knew I had to change it up because in the recipe I clipped, the peaches were not grilled. I am a fan of cooked fruits in my main dish, so I simply had to modify. My husband was a little bit skeptical of the peaches (and maybe the word curry), but after trying one of the peaches decided that he liked it even better than the tomatoes (have I mentioned that he is a huge fan of fresh tomatoes in dishes). I liked the idea that the vinaigrette gets added to the cooked chicken, rather than serving as a marinade. It really helped make the chicken tender and flavorful. We served it over brown rice, which absorbed the vinaigrette and also had a nice flavor.

This recipe is a definite keeper for my family.


Grilled Chicken and Peaches with a Curried Tomato and Shallot Vinaigrette
Serves: 4

4 boneless, skinless chicken breasts
3 tablespoons olive oil
salt
pepper
1 tablespoon cider vinegar
1/2 teaspoon curry powder
2 peaches, pitted and cut into wedges
2 tomatoes plum
1 shallot thinly sliced

Directions:

Preheat gas grill.

Brush 1 tbsp of olive oil on peaches and chicken. Salt and pepper the chicken.

Grill chicken until cooked through. At the same time, grill the peaches, offset from the heat (on shelf or side of grill opposite flames). If you want to give it some grill lines, you can put it directly over the heat for the last couple of minutes but they get warmed through and tender offset from the heat.

In a large bowl, whisk together vinegar, curry and the remaining 2 tbsp of olive oil. Season with salt and pepper. Add tomatoes and shallots. Set aside.

When the chicken is done, arrange on a platter. Add the peaches to the vinaigrette and toss gently to coat. Spoon the mixture on top of the chicken.

Top with chopped parsley or cilantro, if desired.

Disclaimer

Wednesday, May 28, 2014

Chicken Taco Cups

Whether you are looking for an appetizer, a quick dinner, or just a different way to enjoy the taste of tacos, Chicken Taco Cups are a great option. I love how easy they are to make and everyone can top theirs just the way they want.

Chicken Taco Cups
(makes 24 cups)

1/2 pkg wonton wrappers (the brand I use has 48 in a package)
1/2 cup shredded cheese
8 oz chicken, shredded

taco toppers

Place your wonton wrappers into a mini muffin pan that has been sprayed with cooking spray, folding to form a cup.
Bake at 350 for about 5 minutes.

Combine your shredded chicken and cheese in a small bowl and mix together.

Fill your cups with the mixture, dividing equally between the cups.


Bake for another 5 minutes, until the cheese is melted and the filling heated through.

Serve with chopped tomatoes, lettuce, onions, sour cream and all of your favorite taco toppings.

I used the shredded chicken that I make up for chicken tacos, so it was preseasoned. Alternately, you could use cooked chicken and chop it up into small pieces - if so, I would add taco seasoning. The recipe would also work with ground meat or beans, if you want a vegetarian option. If your filling meat is pre-cooked, this meal can be ready to eat in about 15 minutes - perfect for those busy sports filled nights.

These were a hit with the family and next time, I will make up a second pan by doubling my filling recipe.

Disclaimer

Sunday, March 16, 2014

Roasted Red Pepper and Cauliflower with goat cheese

I love a good bowl of soup, especially on a cold winter day. We have had our fair share of those this year and as a result, I have explored a lot of new soup recipes.

I already have a roasted red pepper soup and a cauliflower soup, so when I found a recipe that combined the two, I simply new I had to try it. As an added bonus, it uses goat cheese - another favorite for me.

I adapted it to be a crock pot recipe. I have on occasion, opted to use jarred roasted red peppers and likely will try it with frozen florets at some point too. I roast the cauliflower in the morning, as I assemble the soup in the crock pot.

I find that it makes about 4 generous bowls, which at only 125 calories a piece*, is a great option for a flavorful meal. I typically serve it with salad and a nice French Baguette, to make it a meal.
Roasted Red Pepper and Cauliflower with goat cheese
Serves: 4

4 red bell peppers
1 head cauliflower
2 cloves garlic
1 teaspoon thyme
1 pinch red pepper flake
1 teaspoon paprika
4 cups water
4 cubes chicken bouillon
4 ounces goat cheese
salt to taste
pepper to taste

Preheat oven to 500 degrees. Place red peppers on baking sheet and bake 20-30 minutes until peppers are charred. Remove from oven and cover with foil 10 minutes.

Reduce heat to 350.

Cut cauliflower into florets. Place in a single layer on a baking sheet and lightly spray cauliflower with olive oil cooking spray. Roast in oven until tender and caramelized, about 20-30 minutes.

Uncover peppers, peel off skin and remove stem and seeds. Chop into large pieces and place into crock pot. Add the roasted cauliflower.

Add the seasonings, water and bouillon to the crock pot. Cover and cook on low for 6-8 hours.

Use an immersion blender to puree, leaving behind chunks to your preference.

Season with salt and pepper and stir in goat cheese until it melts.

*according to my recipe software and in alignment with my estimation.

Disclaimer

Crispy Parmesan Wonton Chips

It wasn't until a couple of years ago that I had ever purchased wonton or egg roll wrappers at the store, but now it seems to be a semi regular purchase, with one meal option a month using wonton or egg roll wrapers. There is the Buffalo Chicken Rolls (love these), the Chili Lime Shrimp Cups (need to post this one) and baked wonton cheese sticks. I am sure that there are a few others out there. My kids got a new cookbook that has pizza rolls made with egg roll wrappers.

Usually, when we make something, we use most, but not quite all of the wrappers. Knowing that you need to use them within a short period after opening, I generally opt to just use them up right away. Normally, I just slice them up to make crisps - either sweet with Cinnamon Sugar or savory with a bit of salt or chili powder. So, when I came across this recipe that was for Parmesan chips, I figured I would have to make my own version. I changed it up only a little bit - a little less cheese and swapped cooking spray in for the oil - when I made them today, but the result was a success.

I found that 12 wrappers, sliced in half filled my pan. I only made half the recipe today, because my wrappers were frozen and I knew that I could wait to pull the other half from the freezer. On the second batch, I swapped in Onion Salt for the salt and pepper. They were tasty too!

One thing that appeals to me...4 crisps are only 60 calories (according to my recipe software and in alignment with my estimation). They are flavorful, provide a nice crunch and all for only 60 calories.
Crispy Parmesan Wonton Chips

Yield: 24 - 4 piece servings

1 package wonton wrappers
1 cup Parmesan Cheese, shredded
parsley
salt
pepper

Cut the wonton wrappers in half to form rectangles. Lay wonton pieces out in a single layer on a baking sheet. Spray with olive oil cooking spray and lightly sprinkle with Parmesan cheese, parsley, salt and pepper.

Bake at 375 for 8-10 minutes or until wontons are brown and crispy.

Serve immediately or store in an airtight container.


Disclaimer

Monday, March 3, 2014

Buffalo Chicken Cupcakes

I might sound a bit like a broken record, but we enjoy the flavor of buffalo chicken wings at our house. The reality is though that they are not only messy to eat, but also not the lowest calorie food option that there is. So, we continue to look for new ways to enjoy the flavor of wings, without the mess and without fewer calories. Buffalo Chicken Rolls, Buffalo Chicken Sliders and Buffalo Chicken Soup are some of our favorites.

Tonight, we tried a new recipe that I had found on Pinterest for Buffalo Chicken Cupcakes. I tweaked it a bit, using a little less on some ingredients, making it simpler by using thawed bread dough and using shredded chicken that had cooked in my crock pot all day.
The family loved them. My daughter sprinkled them with shredded cheese and called it 'sprinkles' on her cupcake. My husband drizzled additional buffalo sauce on top. We decided that this would be a fun way to enjoy standard pizza toppings and soon we will make the 'cupcakes' with pepperoni, tomato sauce and cheese...or maybe we will serve the sauce on the side. I put them in my recipe software and found that each cupcake was about 158 calories - not too bad for a satisfying dinner that delivers on the buffalo flavor.

Buffalo Chicken Cupcakes
Yield: 12 cupcakes

1 loaf frozen white bread dough, thawed
1/2 cup chopped onion
1 tablespoon butter
8 ounces shredded chicken breasts
1 cup shredded Cheddar cheese
1/3 cup buffalo sauce

Preheat oven to 400.

Saute chopped onions in butter over medium heat. Once transparent, add shredded chicken and buffalo sauce. Heat for 5 minutes. Remove from heat.
Roll (or press) the dough into a large rectangle.

Sprinkle the cheese over the dough, leaving 1" on the one long edge so you can seal it.
Spread the chicken over the cheese.
Starting from long side of dough, begin rolling the dough up like a cinnamon roll. Pinch ends when done.
Slice into 1 1/2 to 2 inch rolls. Place in muffin tin.
Bake for 15 - 18 minutes.

Disclaimer

Sunday, February 9, 2014

Carrot Cake Cookies

Last fall, when we went to Disney, my husband was on a mission to find the location at Disney where you could find the Carrot Cake Cookies that he had heard about on various podcasts and blogs. We had success and found them at the Writer's Stop in Disney's Hollywood Studios. They were were everything that he hoped for.

The other day, he mentioned that I should find a recipe to make them at home. So, I went on a search and found this version of the recipe. It seemed fairly straight-forward, so I picked up the missing ingredients and set out to make them.

He was so excited that even shared my plans on Facebook.
The batter seemed very thin, but I gave it a shot. I was right, it was a little too thin and the edges got overdone. I wound up opening up another cake mix and adding 3T of mix to the batter. The cookies came out just like I would have wanted for them too. They were not too thick, but held their shape when baking. Of course, I didn't want to have to use 1 box plus 3T of another to make these cookies in the future, so I did some experimenting. I grabbed another cake mix (different flavor) and adjusted the ingredients a little bit. I initially removed an egg, half the oil and half the water, but wound up adding the egg and the oil to the mix. I was pleased with the results.

I used the Neufchatel cheese, to reduce the calories/fat of the recipe and was pleased with the consistency and flavor of the filling. Even with that, each filled cookie is about 200 calories.
Carrot Cake Cookies with cream cheese filling

1 box carrot cake mix
3 eggs
2/3 cup oil
1/2 cup water
8 ounces cream cheese
8 tablespoons butter
1 cup confectioners' sugar
1/2 cup crushed pineapple drained
1 teaspoon vanilla extract

Yield: 18 filled cookies

Prepare cake mix with eggs, oil and water. Drop by tablespoon-full on a cookie sheet and bake at 350 for 15 minutes. Allow to cool 5 minutes on pan, then transfer to wire cooling rack.

In a mixer bowl, combine cream cheese, butter, powdered sugar, pineapples and vanilla extract. Mix into a fluffy consistency.

Once the cookies are cool. Place scoop of cream cheese mixture on one cookie and spread out. Top with a second cookie.

Serve.

Disclaimer

Sunday, February 2, 2014

Buffalo Chicken Soup

I am a big fan of meals that are full of flavor. One of my favorites is buffalo wings. I recognized young that although I could eat my weight in wings, that it wasn't the best or healthiest option for me. So, I had to learn to enjoy them in moderation. It helped me find other ways to enjoy the flavor that they offer.

I started to get a side of sauce and extra celery when I got wings, so that I could enjoy some wings but then continue to enjoy the flavor in a better for me way by dipping my celery in the sauce. It was also a great way to try some of the other sauces that they offered without committing to it.

I started ordering buffalo chicken salads, made with grilled chicken that had been covered in the sauce.

I started enjoying grilled chicken breasts with buffalo sauce, with a side of a tasty steamed vegetable.

I learned that I could thoroughly enjoy the flavor of buffalo wings without the calorie commitment of the wings.
Then, recently, I found a soup recipe that turned out to be a great way to enjoy the flavor. As an added bonus, I was able to make it in my crock pot and it was so warm on those very cold winter days we have been having. And, as an added bonus, it was only 180 calories for a serving!

I am thinking about making up a batch to serve during the Super Bowl.
Buffalo Chicken Soup
Serves: 8

Ingredients:
1/4 cup onions, diced
1 clove garlic, minced
2 carrots peeled
32 ounces chicken broth
3 boneless, skinless chicken breasts, shredded
1 packet ranch salad dressing mix
1/2 cup orzo pasta, uncooked
2/3 cup buffalo sauce
4 ounces Cheddar cheese shredded
1/4 cup Parmesan cheese

Directions:

In a pan, saute your onions, garlic and carrots. Add the chicken broth, chicken and packet of ranch mix. Bring to a boil and add the orzo and buffalo sauce. Reduce heat and simmer for ten minutes. Add cheeses and allow to melt before serving.

Alternatively, I prefer to allow my chicken to cook in my crock pot all day. Place the chicken broth, the chicken, the onions, garlic and carrots in your crock pot and simmer on low for 6 hours. Remove the chicken and shred with two forks. Put the chicken back in the broth and add the packet of ranch mix, the pasta and the buffalo sauce. Continue to cook on low for about 30 minutes. Add in your cheeses and allow to melt.

You can serve it with carrot and celery sticks or perhaps a nice baguette. We garnished with cheddar crumbles.
Disclaimer

Thursday, January 23, 2014

Mini Cannoli Cups

I am always on the lookout for easy to make and enjoy treats to be able to put together for a gathering with friends, a nice treat for the family after dinner or treats to take to parties or work. I tried my first cannoli when I was traveling for business in Boston. There was something very satisfying about the crunch of the shell and cool creamy, richness of the filling. I certainly didn't see Cannolis as something that I could undertake, but when I saw a friend share about mini cannoli cups on Facebook, I decided this might be the way for me to recreate this treat at home.

I made them for dessert on Sunday and the family thoroughly enjoyed them. My son even asked to pack one in his lunch the next day. At about 95 calories per cup, they can easily be a portion controlled dessert that allows you to enjoy a treat without too many calories - the bigger challenge is resisting eating more than one.

Mini Cannoli Cups

Yield: 24 cups

Ingredients:
1 box refrigerated pie crust (2 crusts)
3 tablespoons sugar
1 teaspoon cinnamon
1 (15-ounce) package ricotta cheese
1/2 cup confectioners' sugar
2 tablespoons granulated sugar
1 teaspoon vanilla extract
1/4 cup mini chocolate chips

Directions:

Strain the ricotta cheese, using a cheese cloth or coffee filter. (you can skip this step, but it will give you a thicker filling) Place the cheese into your mixer bowl and add sugars and vanilla. Mix.

Place in a quart size bag and refrigerate. Filling can be kept in the fridge up to 3 days before using.

Preheat oven to 425.

Roll out pie crusts and sprinkle each all over one side with sugar and cinnamon. Roll over dough with rolling pin gently to push cinnamon and sugar into the pie crust.
Using a cup or biscuit cutter, cut out circles in the dough.

Lightly press the circles into ungreased mini cupcake pans to form a pastry cup. Gently prick the bottoms on the cups with a fork.

Bake for 8-10 minutes.
Remove from oven and cool completely.

About an hour before serving, make a small cut across the corner of the plastic bag to fill cups, squeezing the filling into each cup. Sprinkle chocolate chips on top and dust with powdered sugar.

Disclaimer

Sunday, January 19, 2014

Caramel Macchiato Biscotti


I never thought that I liked biscotti. Although out of fairness, I hadn't ever tried one either. When I would see them in a display case or the type that come in an individual wrapper, all I could think is that they were dry, hard cookies that you had to dunk to enjoy, well and most contained nuts which I generally don't eat. Then, I got a bag of chocolate chip biscotti at the new Market District store that had opened nearby. I decided that this was my chance to try them - just plain chocolate chip biscotti. They were lighter in color and had no nuts. I found that I enjoyed them, they were crisp, but not hard. Everyone in the family enjoyed them.

We tried to buy them at our local Giant Eagle, but they don't carry them. Since we couldn't buy them, I decided to try to make them at home. And, off I went to search for some options. I tried a chocolate chip one first and then a banana chocolate chip. I really liked the chocolate chip and had found many other recipes along the way that sounded interesting. The chocolate chip ones that I had made were about the right texture and I was trying to find out why they were softer than others and it was in searching for how to make them 'softer' that I came upon this recipe. I opted to skip the glaze that the original recipe called for. I had some trouble finding the caramel bits, but I finally found the Kraft Caramel Bits in the baking aisle at the local super center.

These Caramel Macchiato Biscotti have been a hit with everyone that has tried them. I even used them as teacher's gifts for my son and took in some to all of my team members at work too.

Caramel Macchiato Biscotti

makes about 15 slices

6 tablespoons butter softened
3/4 cup sugar
2 eggs
1 teaspoon fine grind espresso
1 tablespoon vanilla extract
1 teaspoon baking powder
2 cups flour
1/2 cup caramel bits

Yield: 15 pieces

In a mixing bowl, beat butter with sugar until creamy. Mix in eggs, espresso powder and vanilla. Add flour and baking powder, stirring until combined. Fold in caramel bits. Batter will be sticky.

Form into a flattened log that is about 3" wide.

Bake in a 350 degree oven for 25 minutes. Remove and cool about 10 minutes. Reduce heat to 325.

Cut into 1 inch slices and arrange slices upright on pan. Bake an additional 20 minutes.

Cool and store in an airtight container.

Serve on their own, with coffee, milk, tea or hot chocolate.

Disclaimer

Thursday, January 16, 2014

Creamy Italian Chicken Tomato Soup

In the wintertime, I love enjoying a nice soup for dinner. One of my favorite soups is tomato soup with grilled cheese. I used to rely solely on the canned tomato soup, but have recently been making my own Tomato Bisque, which I just love. So, when I found this recipe on my friend's paleo board on Pinterest, I decided that it was a recipe that I wanted to try. It has the word Italian in the title, so I figured my husband would be up to trying it. Plus, it is a crock pot recipe - I love meals that I can put together in the crock pot in the morning and they are ready to eat when I get home at night.

I don't follow a paleo diet, nor do I know the requirements of a paleo friendly recipe, but I can tell you that this recipe is very tasty and reasonably low in calories. I used Lite Coconut milk, vs the full fat, and a serving was about 150 calories according to my recipe software.

We enjoyed the soup with a salad and some sliced Italian bread, but I could easily see including grilled cheese as a side to the soup.

Creamy Italian Chicken Tomato Soup
Serves: 6

Ingredients:
3 boneless, skinless chicken breasts
1 small onion chopped
2 cloves garlic minced
1 (14-ounce) can Coconut Milk
1 (14-ounce) can diced tomatoes including juice
1 (8-ounce) can tomato sauce
1 cup water
2 chicken bouillon
1 1/2 tablespoons Italian seasoning
1 tablespoon basil
sea salt (to taste)
ground black pepper (to taste)


Directions:

Combine everything but the chicken in your crockpot and stir. Add the chicken. Cover and cook on low for 6-8 hours.

Remove chicken and shred. Return to crock pot.

Serve.


Disclaimer

Monday, January 13, 2014

dare I say - The Perfect Grilled Cheese

If you had asked me to provide examples of 'recipes' that I would likely never do a post about, I think that grilled cheese might have been amongst them. Sure there are hundreds of ways to make grilled cheese, as you can mix up your bread, your cheese and even add other toppings like tomatoes or ham. I know that there are entire restaurants devoted to the grilled cheese sandwich. (as an aside, there is a cereal restaurant too that allows you to 'custom' mix your choice of cereals - wonder if they are still around)

I have been making myself grilled cheese for years and was very content with my method. It was never as good as those that you would have out, but it was still satisfying and the perfect mate for a bowl of soup on a cool day.

Then, the other day, my friend shared this article with me about how to make the perfect grilled cheese sandwich. So, when I was home with the kids enjoying a snow day, I decided to give it a try. Let me confirm that it did not disappoint. It was crispy and yummy!

So, really at the end of the day, this recipe is less about the components and more about the technique. I have made it with "regular" sliced bread and Italian bread from the bakery. I have made it with American Cheese and Jalapeno Cheddar Cheese. I've left it just cheese and added bacon to my sandwich. I imagine it will work well with most types of bread and cheese. I'm thinking Texas Toast with Feta and Bacon is on my list to try soon.

1. Select your bread - whatever is your favorite or you have on hand will work.
2. Butter both sides of your bread. (the second side can be tricky, I usually wait until I have it in the pan to do the other side)
3. Brown both sides on a griddle/in a skillet.
4. Transfer the bread to a sheet pan.
5. Top each side with your cheese.
6. Bake at 350 for about 5-10 minutes, until your cheese melts.
7. Flip one piece on top of the other to build a sandwich.
8. Cut in half (aren't they just better that way).
9. Enjoy!

The resulting sandwich is just wonderful. It is crunchy on the edges. It is soft and gooey on the inside. It has that subtle taste of butter.

I don't think I can return to my old style of making a grilled cheese.

What type of toppings do you like on your grilled cheese? What combination will you try first?

Disclaimer